Feedback Grid
Organize feedback from your experiment.
Feedback Grid is a way to organize and make sense of the information you gathered from your experiment. Use these immediately after interviews with your users, team members, or stakeholders. Capture your learnings while it is fresh in your memory. With each hour and day that passes, your memory begins to forget the details. Take notes of what worked well, what needs to change, any unanswered questions, and any new ideas to try. This grid is flexible; you can easily draw it in your notebook, on a whiteboard or easel pad paper, or print out a worksheet. Use the feedback to iterate on your solution.
What you’ll need
- Pens or markers
- Sticky notes
- Easel pad paper
- Feedback from others
Prerequisite Activities
- None
Downloadable Materials
Instructions
Draw or print the worksheet
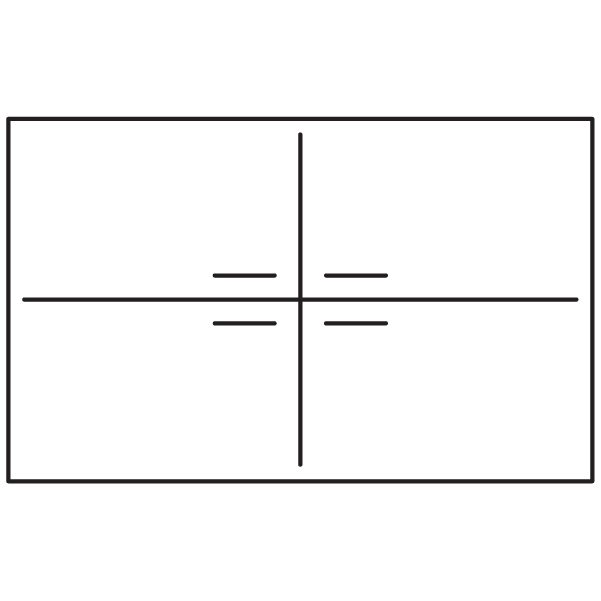
If you are using an easel pad paper, draw a grid and label each of the four quadrants.
- Top-left: Worked well. What worked well?
- Top-right: Changes. What needs to change?
- Bottom-left: Questions. What questions do we still have?
- Bottom-right: Ideas. What new ideas to try
Post the easel pad paper or worksheet onto a wall or surface.
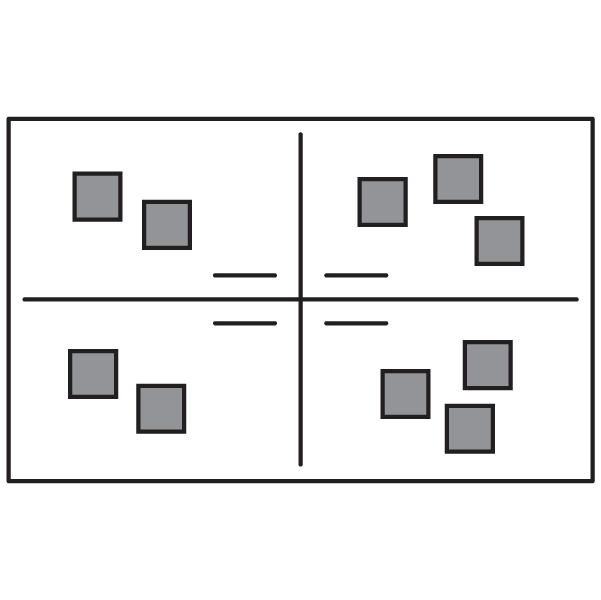
Write then discuss
Each person will silently write down their learnings from the experiment. What type of feedback did you receive? What can you learn from them? Tell stories about your users to keep them as the main focus. Share the learnings and discuss together. Then write the main ones on a sticky note and add them to the top quadrants: what worked well and what needs to change. Write one item per sticky note.
Add any unanswered questions or new ideas you may have to the bottom quadrants
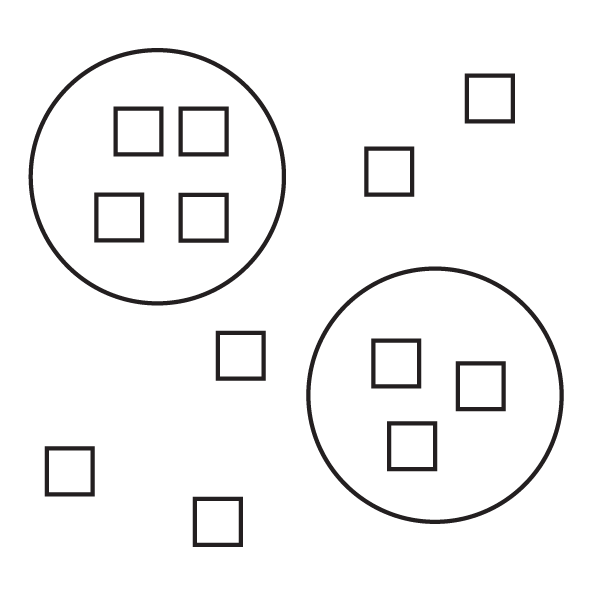
Cluster the changes
In the top-right quadrant (changes), group similar items by moving them together to form clusters. Discuss key patterns and themes within these clusters. Consider the changes from the user’s perspective and behavior, and not from the feature specifically. Circle the clusters and label them with a pattern or theme.
Decide on next steps
Based on the changes, questions, and new ideas, decide on your next steps. Create action items and assign them to different team members.
Example next steps:
- Use an ideation activity to generate new ideas for the changes.
- Do additional research or information gathering for the questions.
- Create storyboards to add details to the new ideas.